CREE XM-L DIY High Powered LED Aquarium Light
A Word of Caution:
This project involves the use of electricity, power tools, and high power LEDs. Before you tinker with LEDs or any electrical materials, be sure you understand the risks involved. This series of articles was created simply to share what I’ve done. These are not verified instructions. I take no responsibility for any harm caused to you, others, or to your property as a result of the info contained in these articles.
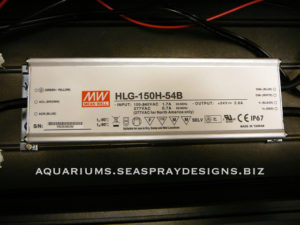
So I had to try them, them being the CREE XM-L (T6) LED’s. The CREE XM-L (T6) LED’s are rated at 1000 lumens @ 3 amps. I wanted to see just how bright are these newer CREE LED’s. The brighter the LED’s, the less LED’s you would need to get the same or higher level of lighting. Getting the CREE XM-L LED’s was easy. I ordered them back in December 2010 and I had them by the end of the month. The harder aspect of this project was in finding the right LED power supply. I needed an LED power supply that could supply the 3 amps I was looking for. I was lucky that my supplier was able to get me an early release of the Mean Well HLG-150H-54B LED power supply. This supply has a rated output of 54Vdc @ 2.8 amps. Not quite the 3 amps but close. It is a constant current device / variable Vdc device as with the previous Mean Well LED power supplies I have used on past DIY High Powered LED Aquarium Lights. The power supply could handle up to 16 of the CREE XM-L LED’s, but I opted to have 14 LED’s. Why 14 when the LED power supply could handle 16. Well I had ordered the 14 CREE XM-L LED’s prior to getting the LED power supply. The other LED power supplies I was looking at could only handle 14.
I had several goals of this latest project.
- Test out the CREE XM-L (T6) LED’s.
- Use a single heat sink instead of the smaller heat sinks mounted to aluminum angle brackets. Minimize assembly work.
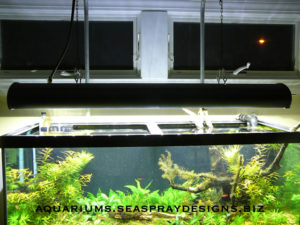
- I wanted the finished fixture to hang above the aquarium. Make it easier for aquarium maintenance.
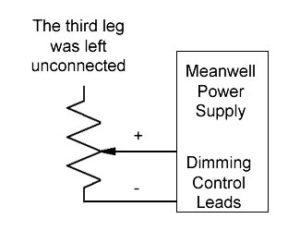
- Use an LED Power Supply that could be dimmed with just a resistive device (i.e. potentiometer).
Single Heat Sink
In the past I had used smaller sized heat sinks and used aluminum angle brackets to hold the heat sinks in place. My thinking was I could cover the same amount of space with less weight. With these CREE XM-L LED’s I felt that heat dissipation was more important, plus installing the heat sink would be easier since I didn’t need to mount all the smaller heat sinks together. Using the one heat sink was much easier to mount, plus there was a huge time savings in not having to build the heat sink assembly.
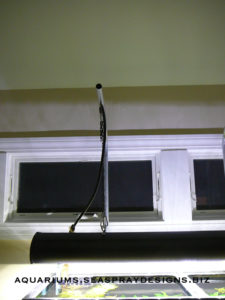
Hanging the Fixture
For this project, I planned on hanging the fixture above my aquarium. I planned on using 3/4″ metal electrical conduit as my hangers. The design for the hangers began during the design phase of my aquarium stand. I decided to build my own stand and mount the hangers to the back of the stand during the build process. I good friend of mine Darin was able to get from work two key pieces of equipment to bend and cut the metal conduit. A pipe bender and a portable band saw.
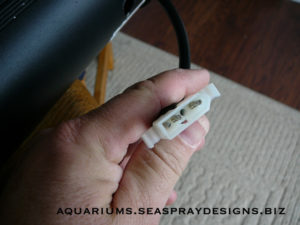
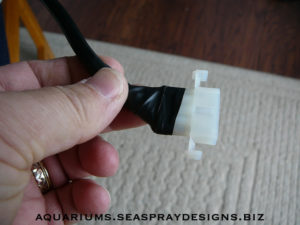
We bent and cut the pipe to the size we needed and using conduit clamps mounted the conduit to the back of the stand. As part of the design, I wanted the AC power cord to run through the conduit. So we drilled the holes for the eye bolts and the hole for the AC power and pushed the power cable through the pipe. The power cable I used was a piece of 3 conductor cable that was left over when my pool was installed. The cable was used by the installers for my underwater pool lights. There was a piece they were going to throw away, so I saved it. I mounted a plug on the end of the cable inside the stand and on the end above the aquarium, I mounted a molex type connector. I mounted the matching connector to the power cord coming out of the light fixture. So once the light was hung in place, I could connect the AC power to the light fixture with the molex connector.
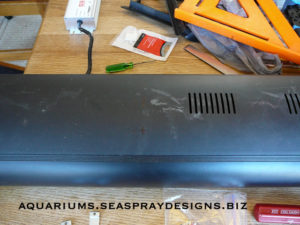
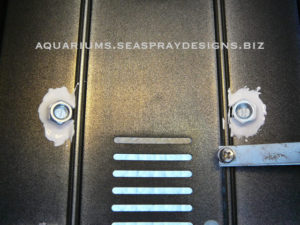
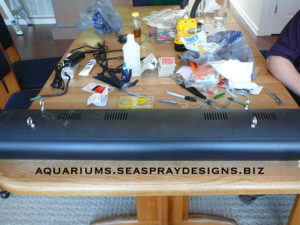
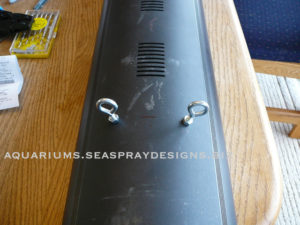
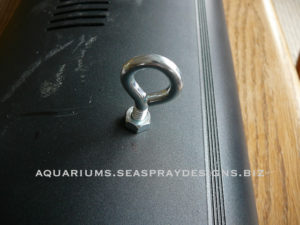
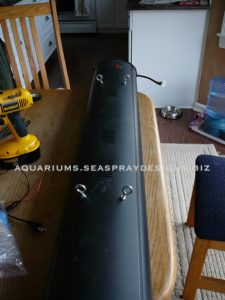
For the light fixture, I decided to install eye bolts into the fixture to hold it above the aquarium. I also wanted an easy way to level the fixture, so once I had the holes drilled into the fixture, I epoxied nuts on the inside of the fixture. I then planned on using the same nuts on the outside of the fixture on the eyebolts. This way I could loosen the nuts on the outside of the fixture and twist the eyebolts in or out to level the fixture. Once it is level, I could then tighten the nuts on the eyebolts against the fixture for a snug fit.
Dimming the HLG-150H-54B
The Mean Well HLG-150H-54B LED power supply can be dimmed three different ways. A resistive value between 0 and 100K ohms, a dc level between 0 and 10 Vdc or a 10 Volt PWM signal. In the past I have used the 0-10 Vdc signal for dimming, for this fixture I decided to use the 0-100K ohm resistive feature. To control the dimming I picked up a 100K ohm potentiometer. With any of the dimming methods, this particular LED power supply will not go to 0 amps on the output. What that means is that you can not dim the fixture to the point of the LED’s turning off. For me, that was not an issue. You can dim the fixture to a pretty low light level. I only use the dimming feature when I am adding new fish to the aquarium anyway, and if I need to turn it off completely, I just turn off the AC power switch.
12 Vdc Power Supply
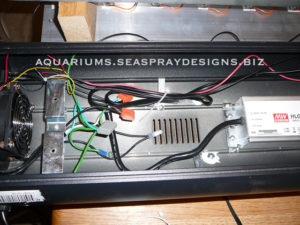
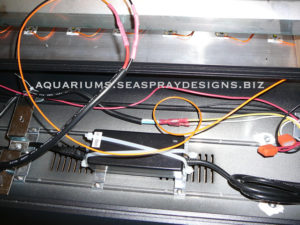
In my previous builds I would use an external 12 Vdc regulated power supply. This 12Vdc power supply would perform 2 functions. The first function was to supply 12Vdc to my fans, and the second was to supply the 0-10Vdc dimming control for the LED’s. For this fixture, I didn’t need the 0-10Vdc control, but I did need 12Vdc for the fans. Yes, you can get 120Vac fans, but there is a wider selection of 12Vdc fans available. Also, I didn’t want an external 12Vdc power supply since this fixture was going to be hanging and I didn’t want the extra cord. Yes, again I could have found a 5 wire conduit, but I had the 3 wire conduit sitting in my basement. So I found a 12Vdc brick style power supply at the same place that I got my 12Vdc fans. The nice thing with this 12Vdc supply is that the output has a male molex type connector on it. I have a bunch of molex connectors which would make the assembly process easy. As a side note, the 12Vdc power supply also has a 5Vdc output if you need it.
CREE XM-L (T6) LED’s
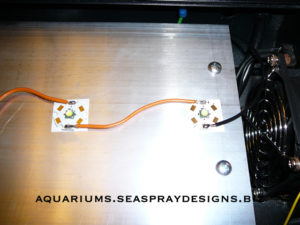
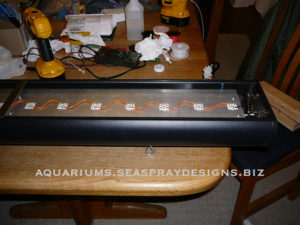
Mounting the CREE XM-L (T6) LED’s to the heat sink was done using a double side thermal tape. The part can be found at digikey.com and it’s part number is Ber159-ND. It comes in a 10″ x 10″ sheet and you just need to measure and cut the tape to size. The LED’s were soldered using a product called SOLDER-IT at my local Lowes store for $3.47. The build process went smooth as usual.
Then It Happened
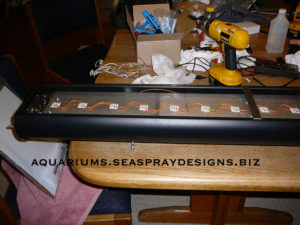
I had the fixture all put together and I had run through some testing, on/off tests and heat testing at my kitchen table. Everything was looking good, so I decided to mount the fixture above my aquarium. My son Andrew and I put the fixture in place, made sure everything was level and plugged the light in. The light came on and everything looked just fine. Until, 20 minutes later the light went out. I checked power and the fans were still running, so I knew that I still had 120Vac going into the fixture. Good thing for the molex power connector for the 120Vac. We took the fixture back out and I tested my LED connections and everything looked good. So I grabbed a spare ELN-60-48D power supply that I have and rewired the LED’s to it. The LED’s turned on just fine. So, it looked as if the Mean Well HLG-150H-54B LED power supply had gone bad. The next day my supplier had a Mean Well engineer contact me to help troubleshoot the problem, and he too confirmed that the power supply had gone bad. Mean Well shipped me a replacement power supply and now the fixture is running just fine.
In Conclusion
The amount of light from such a small number of LED’s is amazing. Cost wise the new fixture with the Mean Well HLG-150H-54B LED power supply costs about the same as my previous fixtures using the CREE XP-G R5 LED’s. The big difference is in the assembly process. Only one LED power supply vs 2 LED power supplies. The dimming circuit is only a potentiometer vs using the 12Vdc power supply and creating a voltage divider circuit to get 10Vdc for the dimming inputs. The biggest plus for me only having to solder 14 LED’s vs 28 LED’s. Like I’ve said before, I hate soldering. Would I build another, absolutely. I am planning on setting up some plant grow out tanks. I am planning on building some new fixtures. I figure that I will put the CREE XM-L (T6) LED’s fixtures on my view tanks and take the previous CREE XP-G R5 fixtures and put them on my grow out tanks. Additionally, the Mean Well HLG-150H-54B LED power supply can handle 16 of the CREE XM-L (T6) LED’s. So the new fixtures will have 16 LED’s in them.
- Dimming-Control Circuit
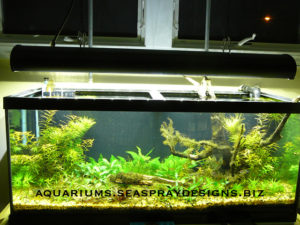
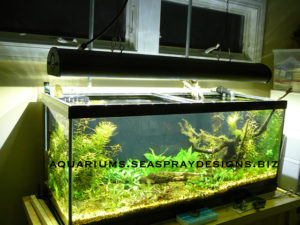
- Finished CREE XM-L LED Light Fixture


